Small Batch Sauerkraut
Have you ever planted a fall garden with high hopes, only to end up with a harvest of just one cabbage?
Maybe you felt so disappointed that you vowed to never grow a fall garden again? (I’ve been there)
BUT let’s take a moment to celebrate that one cabbage harvest! That is amazing!
Any harvest, no matter how small, is something to celebrate.
Food you grew with your own hands is an incredible thing that we need to spend more time appreciating!
You grew a garden.
You enjoyed lovely fall mornings in the garden.
You harvested a cabbage!
YAY!
(I am going to share my best tips for how you can improve your fall harvest in an upcoming email (click here to subscribe), but for now let’s just stick with that one cabbage).
Did you know that with just one cabbage you can make a jar of incredible, probiotic-rich, flavor packed sauerkraut?!?
That sounds like a really great reason to grow a fall garden to me!
Making small batch sauerkraut is also super easy and you probably already have everything you need to make it.
My Small Batch Sauerkraut Recipe
What you need:
· 1 Cabbage (two if they are very small cabbages)
· 1-2 Tablespoons Canning or Pickling Salt
· A food processor (you can make do with a knife if you do not have a food processor)
· A wide-mouth quart jar with a plastic lid (you can use a regular quart jar, but it will be harder to pack the cabbage if you cannot fit your hand into the jar)
· A fermenting weight (if you don’t have one, many other objects will work, you can even put a rock inside a plastic bag!)
How to make it:
(This might sound like a lot, but I provide a lot of detail, it usually takes less than 1 hour to make start to finish)
Harvest your cabbage by cutting the stock near the surface of the soil (leaving the roots in the soil can help feed your soil!)
Remove the tough outer leaves (add them to your compost) until you are left with the tight head of cabbage
Rinse the cabbage off well
Save 1-2 leaves from the outside of the cabbage, set them aside for later.
Slice the rest of the cabbage (leaving out the core) into large chunks, 1-2 in wide. If you notice dirt or evidence of pests, you can place the sliced cabbage into a bowl of COLD water and let it sit for 10 minutes. “Swish’ the cabbage around in the water and then transfer it to a colander and rinse it off.
Using the slicing blade on your food processor slice the cabbage into small pieces (or chop it up finely using a knife).
Place the cabbage in a large bowl.
Add one Tablespoon of salt and mix.
Allow the mixture to sit for 10-20 minutes, you will start to see juice forming in the bowl and the cabbage will look shiny and wet.
With clean hands start ‘massaging’ the cabbage and by squeezing it firmly.
Taste the cabbage, it should taste salty. It is hard to explain, but it should taste too salty to want to eat it, but not so salty that you can’t eat it. Sometimes I add 1/2 Tablespoon and mix it again.
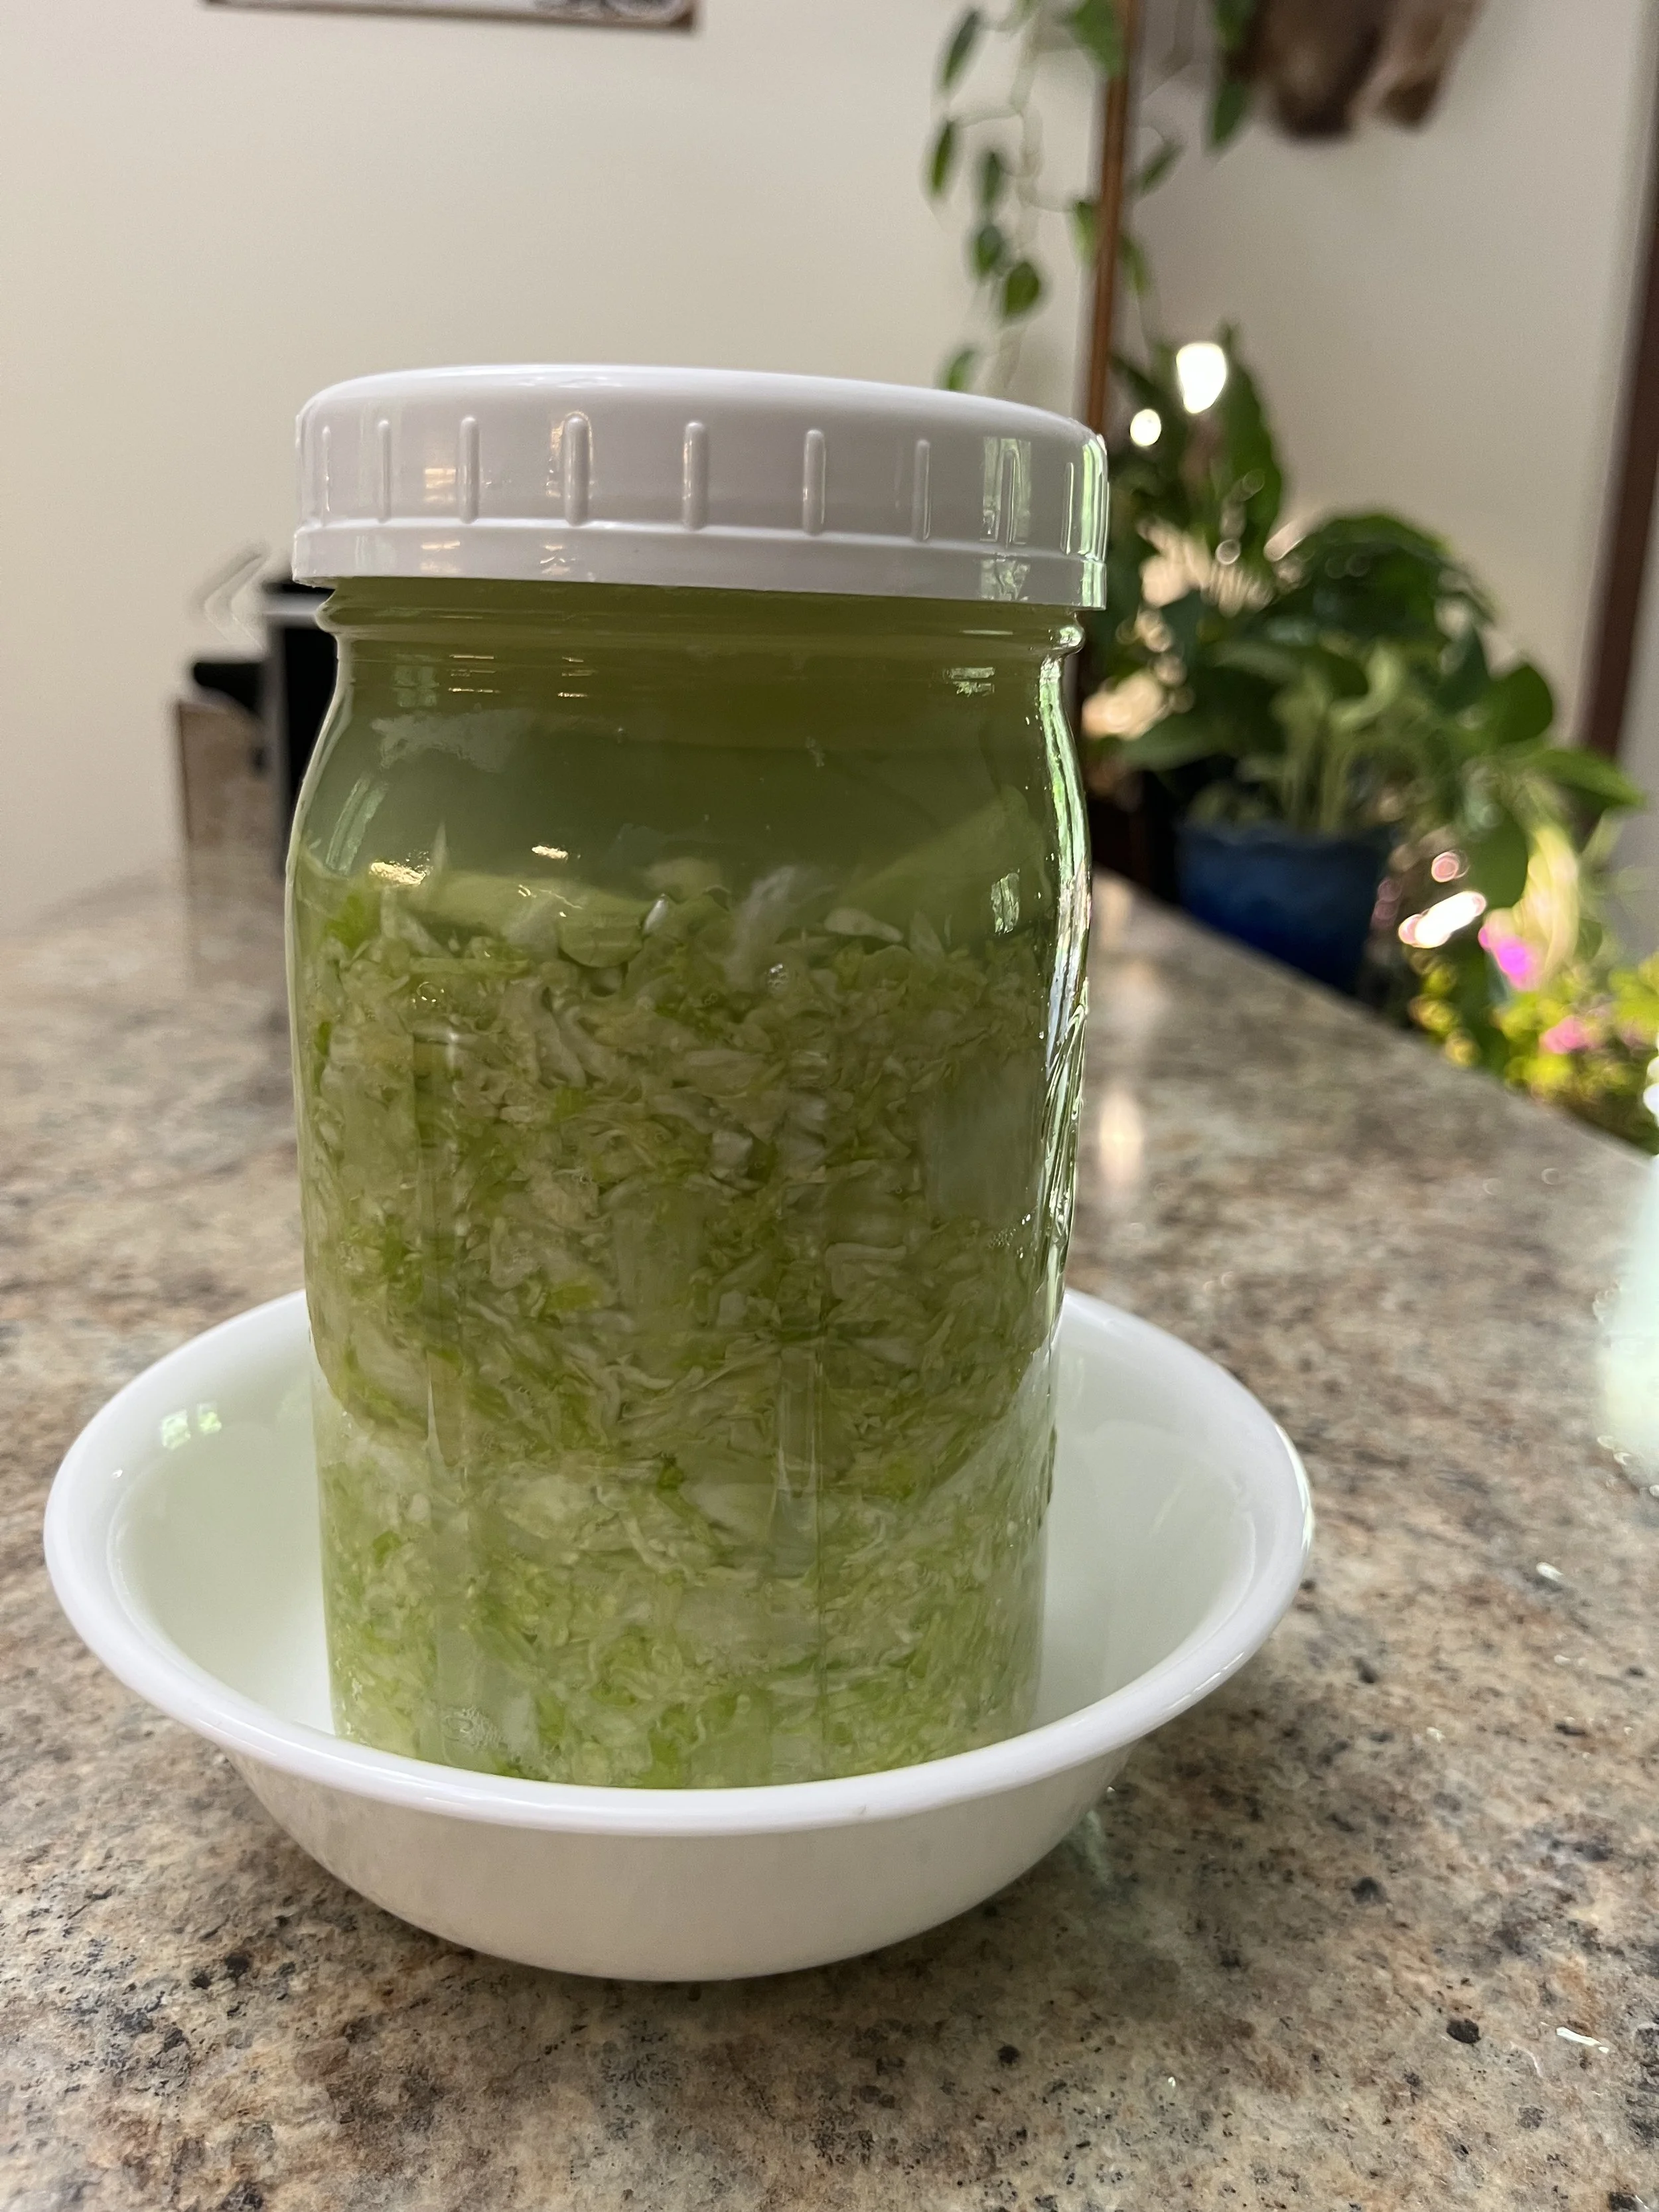
Once it is salty and there is a lot of juice in the bowl, add the cabbage to your CLEAN jar.
Pack the cabbage into the jar, add a little bit at a time and press it down firmly. The juice should rise up above the level of the cabbage when you press it down.
Keep adding and pressing until the jar is full, leaving about 1 inch of space at the top of the jar (1 inch head space from the top of the cabbage).
Let the juice fill up to the top of the jar. You may have more juice than needed to fill the jar.
Now add the cabbage leaves we set aside. Use them to layer on top of the cabbage to hold it down and keep it covered.
On top of the leaves place your weight, anything that is CLEAN and will hold the cabbage down under the juice will work)
Next add your lid. BE SURE to use a lid or covering that allows air and juice to escape during the fermentation process. I use plastic lids that do not seal.
Place the jar into a small bowl (to catch and juice that spills over as fermentation occurs).
Label and date the jar.
Place the jar on your kitchen counter, or in an area you can keep an eye on it, but that is out of direct sunlight and high heat.
Check the bowl daily and empty any juice that collects in the bowl.
Also, check to make sure the level of the juice stays above the surface of the cabbage. If needed, press the cabbage down to bring more juice to the surface.
Allow the jar to ferment for at least 1 week (but up to several weeks). At 1-2 weeks you can start tasting the cabbage (remove the wight and top leaves to taste the cabbage underneath, replace the leaves and weight if you are going to let it continue fermenting).
The longer you let it ferment the more ‘tang’ it will have, so adjust the time to your flavor preference.
Once ‘finished’ store it in your refrigerator and enjoy!
It’s delicious and a great way to get probiotics into your family’s bellies! And a lovely way to celebrate your harvest, no matter how large or small.
Ready to try growing cabbage this fall so you can make your own small batch sauerkraut?!?
Watch for my fall garden tips coming to your inbox soon or sign up here if you are new here!